
Wednesday, December 28, 2011
Tuesday, October 4, 2011
Thursday, September 15, 2011
The Rough Cut
For aspiring knife makers out there I thought I would start a knife from the very first and record some tips. I just need to learn how to use my video feature on my Blackberry. This was not supposed to be cut into eight pieces. Hopfully Ill get better as I go.
Silvia says I am cute, she wouldn't lie, right?
Monday, August 29, 2011
I disembowled myself and then ran myself over!
I actually didn't do either of those things, but it seems that my readers (all three of them) are sadists and only comment on my posts when I hurt myself. (take a moment to reflect on how wrong you are). Well anyway, I made some really pretty knives.
 This knife is made from a farrier rasp and some maple wood that I bought in Oregon.

This Maple cost a hundred dollars! I can't believe Silvia let me buy it but it was really pretty.

These two knives are for Chelsea and Meridith. I promised them some tiny knives a while ago and finally got around to making them. I was going to make a matched set but then I thought they are not identical, why should their knives be? They are cut form the same metal and forged in the same fire but are way different; just like you two. Cool, right? The handles are made of myrtle wood and if you are not familiar with myrtle wood you should do some homework and see why that might be special for you guys. I haven't decided which one should go where. I think that the first twin to comment on this post should be able to pick which one she wants. Ready go!
These two knives are for Chelsea and Meridith. I promised them some tiny knives a while ago and finally got around to making them. I was going to make a matched set but then I thought they are not identical, why should their knives be? They are cut form the same metal and forged in the same fire but are way different; just like you two. Cool, right? The handles are made of myrtle wood and if you are not familiar with myrtle wood you should do some homework and see why that might be special for you guys. I haven't decided which one should go where. I think that the first twin to comment on this post should be able to pick which one she wants. Ready go!
Tuesday, June 14, 2011


Monday, June 13, 2011
Dave's Knife


I think these pins turned out nice. The are made from a hollow brass tube with three stainless steel rods inside and held together with JB weld.

Sunday, June 12, 2011
A blast (furnace) from my past
I was just looking through an old CF card and I found some photos that I forgot I even took. Like here is my first attempt at a furnace. Very neat and compact, huh?

See, it even worked pretty good........once.
 Yes, I melted a frying pan. Who new it was so easy to accomplish? One would think that pans, by their very nature, would be somewhat resistant to melting.

Dang, I made some ugly knives. I am a little chagrined to remember how proud I was of them. Hopefully I keep progressing and the couple I knives I am working on now (which I think are stunning beuties) will be ugly in my eyes in a few years when I am a superstar in the knife making world..... I'm not sure there are superstars in the knife making world. perhaps I'll be the first.

See, it even worked pretty good........once.
Yes, I melted a frying pan. Who new it was so easy to accomplish? One would think that pans, by their very nature, would be somewhat resistant to melting.Dang, I made some ugly knives. I am a little chagrined to remember how proud I was of them. Hopefully I keep progressing and the couple I knives I am working on now (which I think are stunning beuties) will be ugly in my eyes in a few years when I am a superstar in the knife making world..... I'm not sure there are superstars in the knife making world. perhaps I'll be the first.
Thursday, March 17, 2011
What's an Uli knife??
I know it's been a while but its been cold out in that garage and I haven't done much. What I did do, I did at Christmas. I made three Uli knives for my sisters and my wife. What is an Uli knife? Well I grew up with my mom having one, we called it the chopper and I thought that it was a fixture of american kitchens same as a can opener. Little did I know that out side Oregon and Alaska they are not all that well known. Well read on to see a step by step of making an Uli knife...Or any knife really since its pretty much the same cept the details.

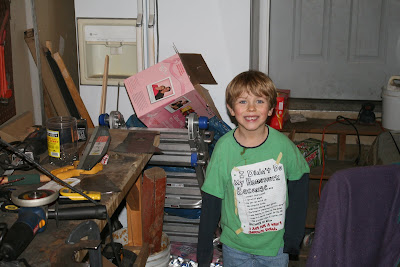
Step 2. Select an assistant
Step 3. Find some steel. This is an industrial saw blade.

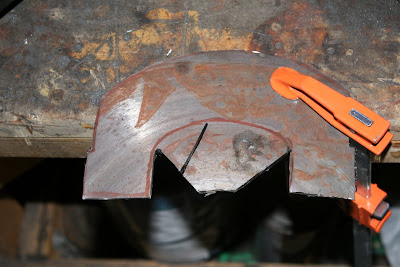
Step 4. Rough cut. I use a 4 1/2 inch angle grinder with a cut off wheel.

Step 1. Clean up your work space-OK good enough on to step two!

Step 2. Select an assistant

Step 3. Find some steel. This is an industrial saw blade.

Step 4. Rough cut. I use a 4 1/2 inch angle grinder with a cut off wheel.

Step 5. Refine. Now the inside of a curve is about fifty times harder to cut then the outside of the curve because you run out of space. I found the best way is to just start taking triangle chunks out thusly.
And thusly
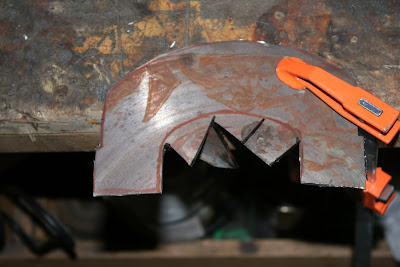
And when you get it down to where it looks like a country girls teeth you are ready for step 6.
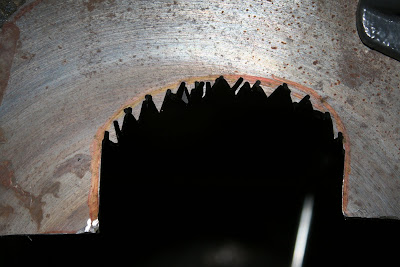
Step 6. take all the rough stuff off

Step 7. Throw the remainng core of your old saw blade ninja star style!

And thusly

And when you get it down to where it looks like a country girls teeth you are ready for step 6.

Step 6. take all the rough stuff off

Step 7. Throw the remainng core of your old saw blade ninja star style!
*note, this step should be skiped if you have a cranky wife..sheesh!

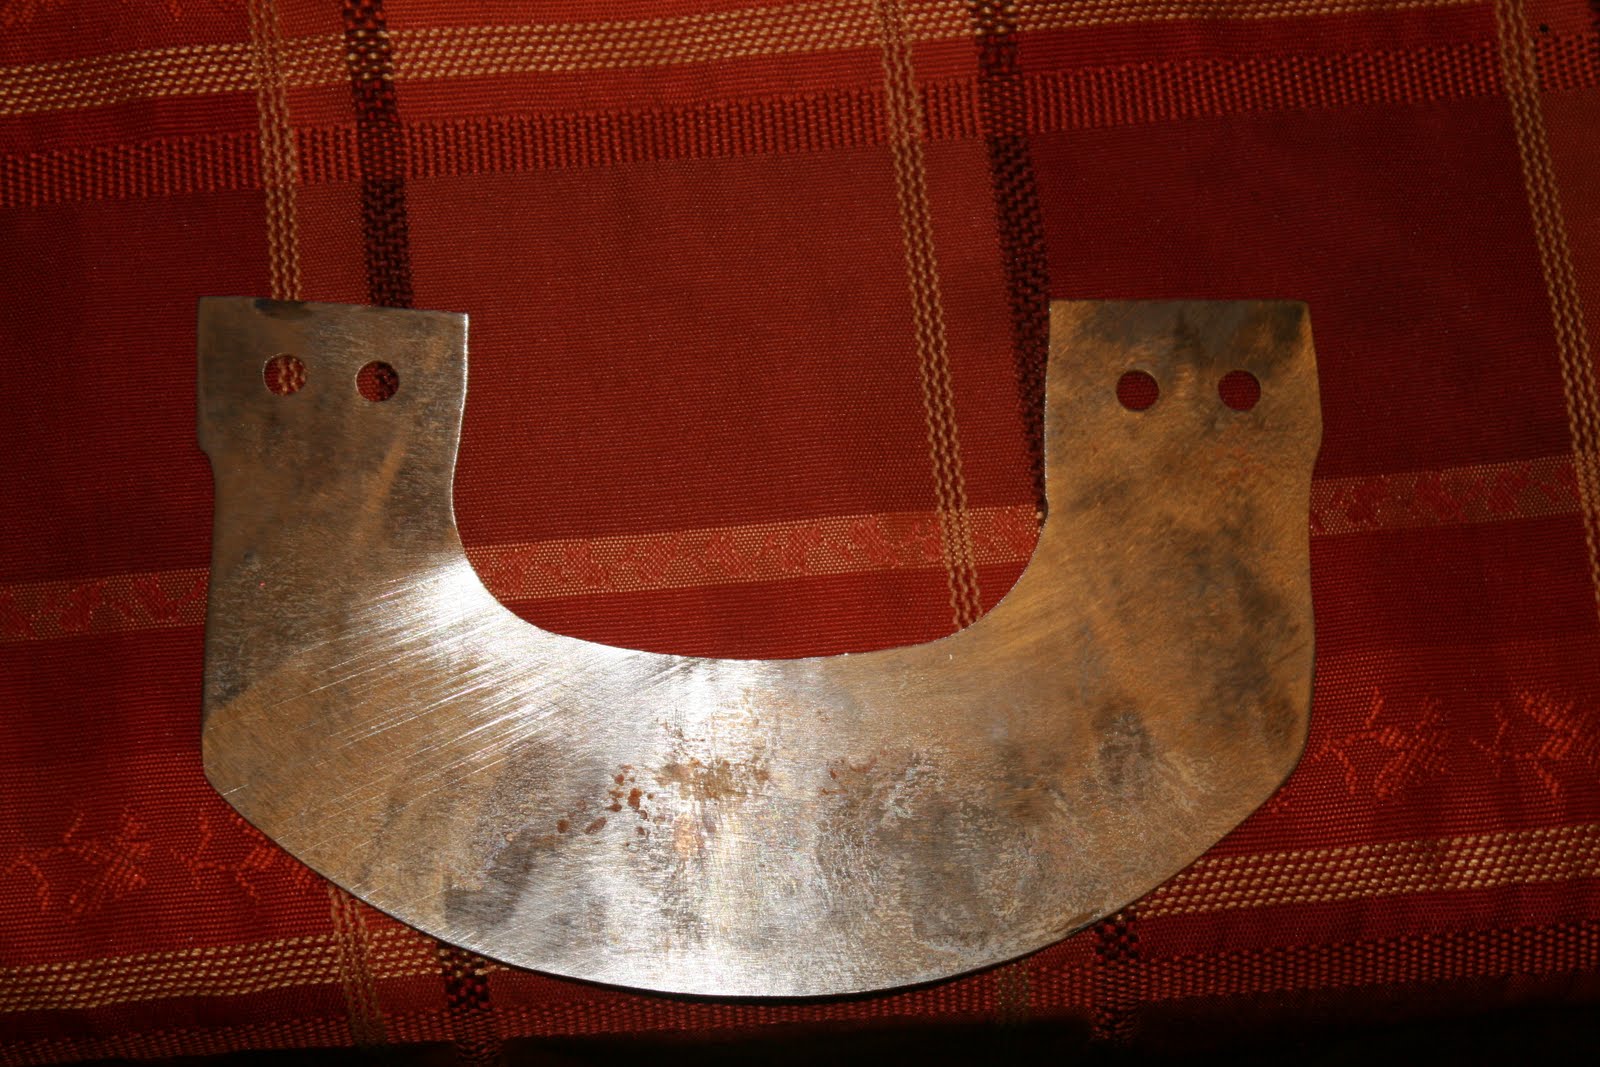
Step 7. drill holes for brass pins

Now for the handle. Step1. Find a log
Step2. reduce to more managable porportions.

Step 3. rough cut.

Step 4. little work with a router.

Steps 5, 6, & 7 Sand, drill and epoxy your blade in.


Step 7. drill holes for brass pins
Now for the handle. Step1. Find a log
This is a hunk of Myrtle wood that a friend of mine hooked me up with. Doesn't look to spectacular here but just wait till you slick it up and put some oil on it! It practical glows.

Step2. reduce to more managable porportions.

Step 3. rough cut.

Step 4. little work with a router.

Steps 5, 6, & 7 Sand, drill and epoxy your blade in.
Step 8. Make pretty!

Aint she a bute?

Throw it in a bowl for your sis!

Look how prett that wood turned out! Now to get this finish I sanded and oiled it and then finished with superglue which I rubbed on with my finger and then buffed with super fine steel wool.

Money Shot! 

Aint she a bute?

Throw it in a bowl for your sis!

Look how prett that wood turned out! Now to get this finish I sanded and oiled it and then finished with superglue which I rubbed on with my finger and then buffed with super fine steel wool.

Money Shot!
Here is another one I made for a coworker diffrent style same idea.
Subscribe to:
Posts (Atom)